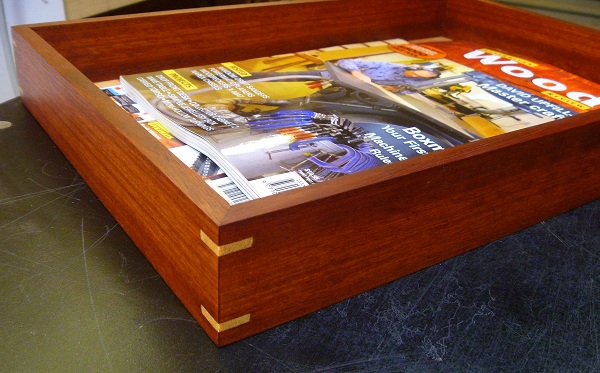
The 50mm straight cutter option for the Mitre Maker opens up a wide range of possibilities for making things other than picture frames. In this post, we show how to make a simple document tray on your router table using the Mitre Maker and a few other router bits and fence arrangements.
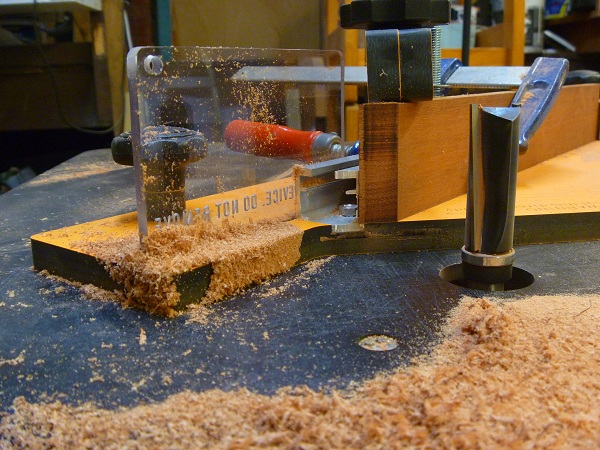
For this project I used boards 10mm thick and 48mm wide. The outside dimensions of the tray are 375mm x 265mm and the floor of the tray is 5mm ply. The sides were first trimmed to length, 5mm oversize, then the joints were cut with the Mitre Maker using the 50mm cutter. Sliding stops and the fence extension were used to ensure that the side lengths were accurate.
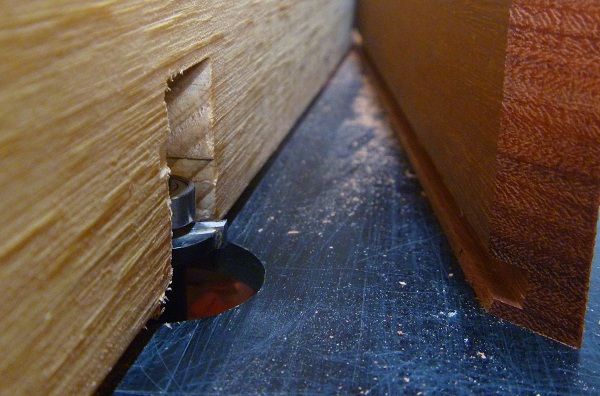
Next, a 5mm slot was cut in the side boards for the plywood floor of the tray.
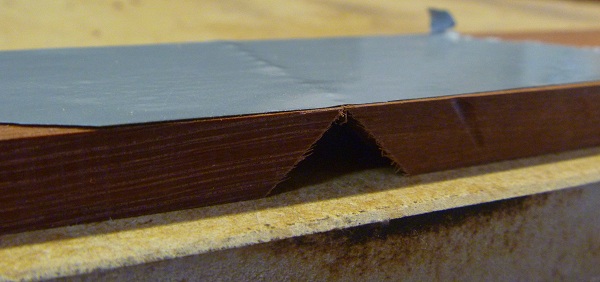
After cutting the plywood floor to size, the document tray was dry assembled by laying out the tray panels in order and taping across the mitres. The tape holds the side panels together while you check the fit of the tray floor.
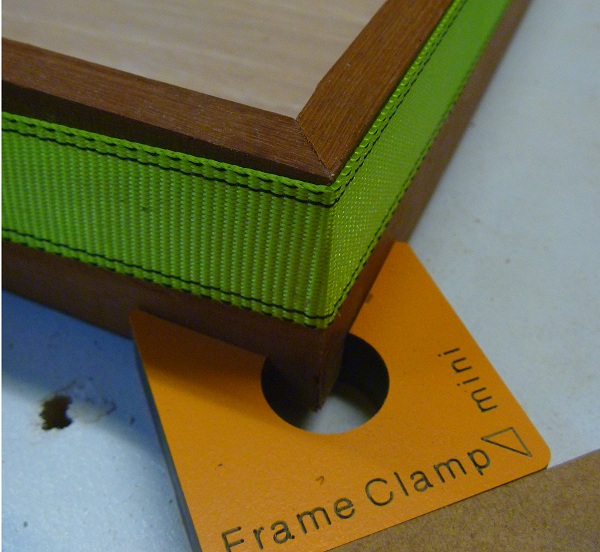
Satisfied that the tray floor and sides fit together well, the tray was then glued using our frame clamps and an additional ratchet strap to ensure the mitres were held tight at both the top and bottom of the tray.
For extra strength of the joint, and as a decorative feature, I have added splines to the outside corners of the document tray. The splines were added at the top and bottom of the tray using a slot cutter and fence arrangement on the router table, and a custom-designed sled to hold the tray. The spline sled has removable MDF pieces to hold the tray at 45 degrees to the router table fence and to prevent tear-out as the cutter exits the workpiece. The tray was flipped over to cut the top spline slots.
A quick sand through to 1200 grit and a brush of Danish oil finished off this little project that can easily be completed in a few hours over a weekend.


